
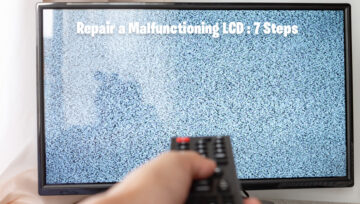
Repairing a Malfunctioning LCD: 7 Steps to Restore Your Screen
Is your LCD screen acting up? Follow these seven steps to potentially fix common issues and restore functionality:
Step 1: Identify the Problem
Determine the specific issue affecting your LCD, whether it’s dead pixels, backlight problems, or display artifacts. Understanding the problem is crucial for an effective repair.
Step 2: Check Connections
Inspect all cables and connections between your LCD screen and any connected devices (like a computer or TV). Loose or damaged connections can cause display problems.
Step 3: Power Cycle
Turn off the LCD screen and unplug it from the power source. Wait for a few minutes, then plug it back in and power it on. Sometimes, a simple power cycle can resolve minor issues.
Step 4: Examine for Physical Damage
Inspect the LCD screen for physical damage, such as cracks or scratches. Physical damage often requires professional repair or replacement of the screen.
Step 5: Update Drivers
If you’re using the LCD with a computer, ensure that your graphics card drivers are up to date. Outdated drivers can cause compatibility issues and display problems.
Step 6: Perform Reset (if applicable)
Some LCD screens have a reset option in the settings menu. Try performing a factory reset to restore the screen to its default settings.
Step 7: Seek Professional Repair
If the issue persists despite your efforts, consider seeking professional repair services. Experienced technicians can diagnose and fix complex LCD problems efficiently.
By following these steps, you can troubleshoot and potentially resolve common issues affecting malfunctioning LCD screens. For more advanced repairs or professional assistance, contact reputable repair services like those listed on tvfixnearme.com.


Write a Comment